














How you appear on camera is the first thing the other person notices in the first three seconds of a lesson. But how much it actually matters depends on who you are. For a teacher — and particularly for a private teacher, who builds professional credibility through the screen as well — the framing is part of the job. For a student it counts far less than people think: their priority is being heard, and video only serves to show the teacher what needs to be seen.
For teachers: your setup is part of how you present yourself
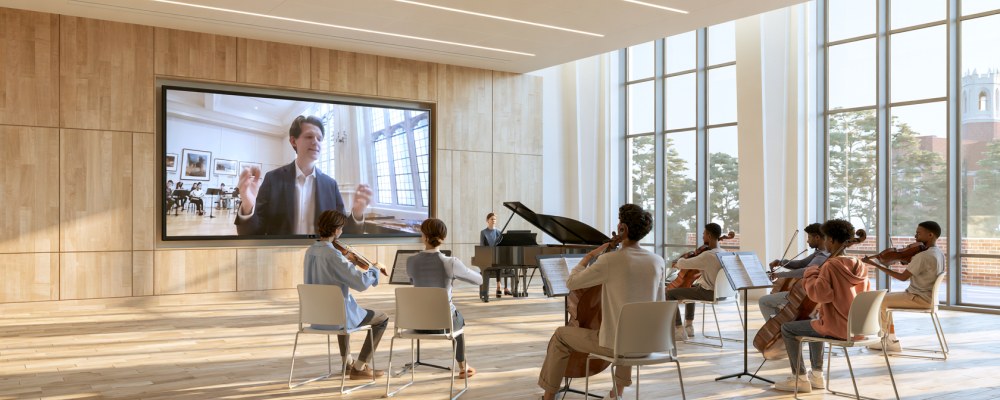
Those who teach, especially privately, introduce themselves to families and students through a screen too: the first trial lesson, the first contact with a parent weighing up a course of study, the masterclass attended by someone who does not know you. A well-arranged setup communicates exactly what a tidy studio would: that the work is taken seriously. You do not need a television set: an eye-level lens, light from the front and a background that does not distract are enough. It is the minimum that makes your image consistent with the quality of your teaching.
For students: first be heard, then be seen
If you are the student, the hierarchy is clear-cut: audio comes first. A decent external microphone and the browser filters turned off change the lesson infinitely more than any adjustment to the image. Video matters for one reason only, and it is functional: the teacher must be able to see the left hand on the neck, the embouchure, the posture of the back, the fingers on the keys. Beyond that, the aesthetics of the framing are secondary. For you, the rules below are about showing properly what needs showing — not about looking good.
Rule 1 — Eye-level camera

The laptop webcam sitting on the desk shoots you from below: you see the ceiling, the chin is out of proportion, the gaze "slides" downwards. The fix: raise the laptop or the webcam until the lens is at the height of your eyes. A stack of books, a shoebox, a €10 tripod: anything works. For teachers this is the single adjustment with the greatest return: it completely changes how you are perceived.
Rule 2 — Camera-to-instrument distance
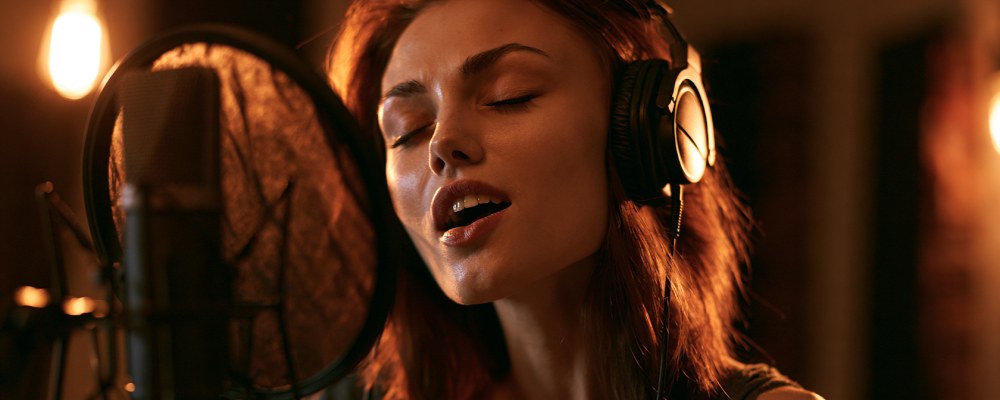
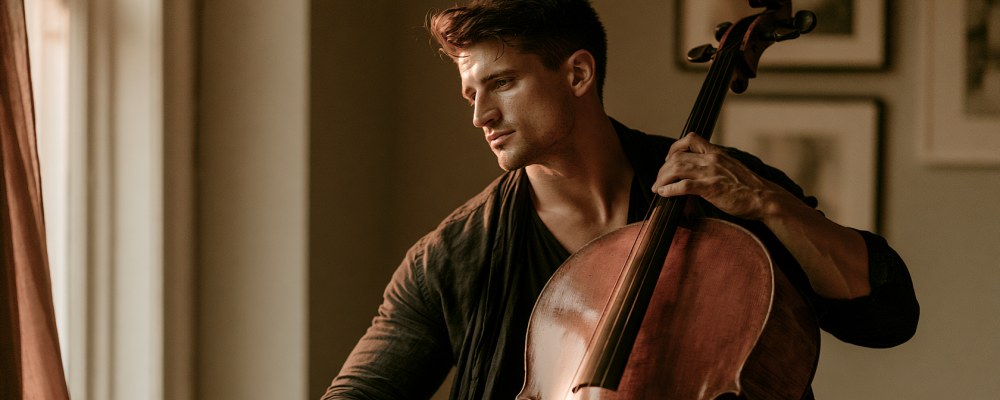
This one is for everyone, and it is the genuinely didactic rule. Each instrument has a different ideal distance from the camera. For piano the front camera takes in the torso and hands, but a second camera (a smartphone will do) above the keyboard is needed to see the keys from above. For strings a front camera at 1.5 metres takes in the whole instrument, but a side view is needed for the left hand. For winds the front camera at 1 metre is perfect. For singing a camera slightly above eye level at 50-70 cm gives the best framing of face and embouchure.
uwClassrooms supports multiple simultaneous video sources. If you have a smartphone to use as a second camera, take advantage of this: your teacher will be able to switch between the front view and the close-up in real time.
Rule 3 — Light comes from the front, never from behind
The most common mistake is sitting with a window behind you: to the webcam you become a dark silhouette, and no brightness adjustment can rescue it. Light — natural or artificial — must come from the front, ideally slightly from above.
- Best option: a window in front of you, during the day (natural light is free and beautiful).
- Good option: a desk lamp, even the one you already own, angled towards your face.
- To avoid: a central ceiling light (it creates hard shadows under the eyes and nose).
Rule 4 — A neutral background, not a sterile one
This applies above all to teachers. The background should not distract, but neither should it be an anonymous white wall. A partly visible bookcase, a picture, a plant: elements that give the frame character without stealing attention. Avoid: piled-up chairs, moving objects (curtains, fans), swaying plants, people walking past.
Rule 5 — Distance from the screen
A typical mistake: glueing yourself to the computer to "be closer" to the teacher. The result: you fill half the frame, only your head is visible, the instrument is out of shot. Ideal distance: 80 cm – 1.5 metres from the computer, so the camera takes in at least the torso and the instrument. For the student this too is a functional rule: it is about showing what the teacher needs to assess.
Five practical exercises to do today
- Open the webcam in any app and look at yourself. Is the lens at the height of your eyes? If not, raise the laptop.
- Turn off the ceiling light and switch on only a desk lamp in front of you. Look again: has the image changed?
- Move 50 cm away from the computer. Does your frame now include the instrument?
- Take a photo of your background. What does the person on the other side see? Move or remove the 2-3 most distracting things.
- If you have a smartphone, try using it as a second camera from above the piano keys or close to the violin's fingerboard. Even just to see the effect.
Common mistakes
Webcam pointing at the ceiling. It happens when the laptop is tilted slightly back: the lens goes "adrift" and the framing becomes useless.
Backlight from the window. To be avoided at all costs: it turns you into a silhouette. If the window is behind you, close the curtains during the lesson.
A second camera propped up on its edge. A phone or tablet used as a second angle, if propped up unstably, gives a vertical image that vibrates with every movement. Use a €10-15 tripod or a good stable stack of books.
In short
The rules are the same for everyone, but they carry different weight. For those who teach — and particularly for private teachers — the setup is a calling card: an eye-level camera, light from the front and a clean background cost zero euros and ten minutes, and they change how your work is perceived by students and families. For students the priority remains audio: once that is sorted, all you need is a frame that shows hands, posture and instrument. Everything else, on their side, is a bonus.
If you want to experiment with multiple simultaneous video sources, sign up for free on uwClassrooms and try the multi-camera feature.